Most homeowners think of grout as filler — the stuff between tiles that turns grey over time. But the role of grout cleaning in tile longevity runs much deeper than appearances. Grout stabilises tiles and protects the substrate; when it fails, you get chipping, moisture infiltration, and subfloor damage that no amount of scrubbing can undo. Whether you manage a rental property or simply want your bathroom tiles to last decades, understanding what grout actually does and how to care for it properly will save you serious money and frustration.
Table of Contents
- Key takeaways
- Grout's real role in tile durability
- How grime and moisture damage grout from the inside out
- Grout cleaning techniques that actually work
- Choosing grout and sealers for long-term performance
- What I've learned from watching grout get neglected
- Professional grout care that protects your investment
- FAQ
Key takeaways
| Point | Details |
|---|---|
| Grout is structural, not decorative | Grout stabilises tile layouts and blocks moisture from reaching the subfloor. |
| Dirty mop water makes things worse | Traditional mopping pushes grime deeper into grout pores rather than removing it. |
| Sealing extends grout life significantly | Proper sealing increases grout lifespan by 30 to 50%, especially in wet or high-traffic areas. |
| Vacuuming before cleaning is non-negotiable | Removing loose dirt before any wet cleaning prevents particles from embedding in grout. |
| Grout type must match the application | Sanded, unsanded, and polymer-modified grouts perform differently depending on tile size and environment. |
Grout's real role in tile durability
The idea that grout is purely decorative is one of the most expensive misconceptions in home maintenance. Grout is a protective structural component; it absorbs the minor flexing and stress that occurs when a floor is walked on, when temperatures shift, or when a building settles. Without grout in good condition, individual tiles bear the full brunt of that movement and crack.
Understanding how grout affects tile durability starts with knowing what types of grout exist and why each one performs differently.
The three main grout types
- Sanded grout contains fine sand particles that prevent shrinkage during curing. It is designed for joints wider than 3 mm (approximately 1/8 inch) and is the standard choice for floor tiles and large-format wall tiles. Sanded grout reduces shrinkage and cracking by up to 50% in those wider joints, giving the installation far greater long-term stability.
- Unsanded grout has a smoother consistency, making it suitable for joints narrower than 3 mm. It bonds well to vertical surfaces and is commonly used for delicate tiles like glass or polished marble where sanded grout could cause surface scratches.
- Polymer-modified grout blends cement with polymers to produce superior stain resistance, flexibility, and durability. This type is well suited to kitchens, bathrooms, and commercial spaces where heavy foot traffic and moisture are constant factors.
Here is a quick comparison of how each grout type performs across key criteria:
| Grout type | Joint width | Stain resistance | Best environment |
|---|---|---|---|
| Sanded | Over 3 mm | Moderate (needs sealing) | Floors, large tiles |
| Unsanded | Under 3 mm | Moderate (needs sealing) | Wall tiles, glass, marble |
| Polymer-modified | Any | High | Wet areas, high-traffic zones |
Matching grout to the application matters enormously. Wider grout joints paired with durable grout improve wear resistance and make cleaning easier, particularly for wood-look plank tiles. Using the wrong grout type in the wrong environment is one of the most common reasons tiles fail prematurely.
How grime and moisture damage grout from the inside out
Cement-based grout is porous by nature. Over time, dirt, cooking oils, soap residue, and moisture work their way into those pores. What starts as discolouration becomes a structural problem as the grime breaks down the grout's binding agents from within.
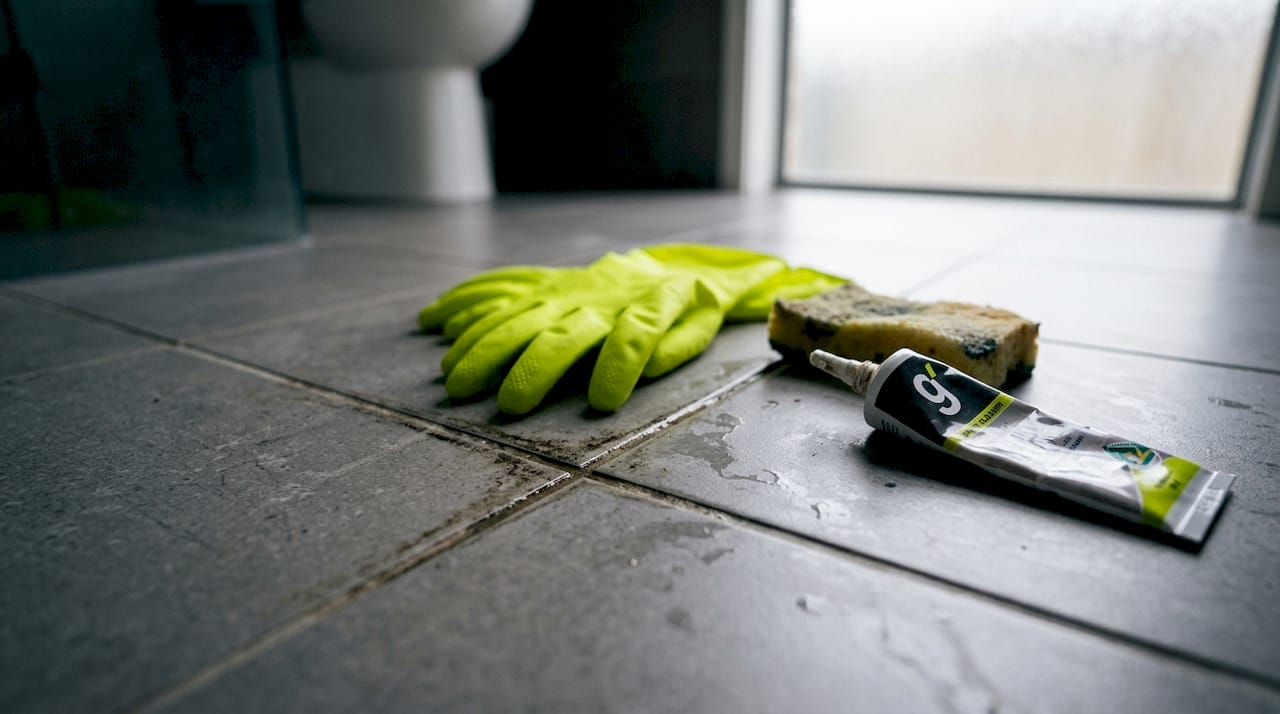
The moisture angle is particularly damaging in Australian homes, where bathroom and laundry tiles are in near-constant contact with water. Once grout becomes saturated repeatedly without drying properly, mould and mildew colonise the surface. Left long enough, that microbial growth physically degrades the grout matrix, creating cracks and soft spots that allow water to reach the adhesive layer beneath the tiles.
Pro Tip: After showering, run a squeegee down your tiled walls before leaving the bathroom. This one 30-second habit dramatically reduces moisture sitting in grout joints.
There is a subtler problem that many homeowners never realise. Traditional mopping pushes contaminated water into porous grout, making the situation worse rather than better. Every time you mop with a traditional wet mop, you are not just failing to clean the grout. You are actively depositing a slurry of diluted grime into the pores. Over months and years, this accelerates staining and structural weakening in ways that are extremely difficult to reverse without professional intervention.
Dirt accumulation at tile edges creates another failure point. As grime builds at the junction between the tile and the grout, it traps moisture against the tile edge. This leads to the familiar problem of tile edges lifting, cracking, or developing hairline fractures that spread inward. The impact of grout on tile life is most visible here: a tile surrounded by clean, intact grout lasts far longer than one sitting in deteriorated, grime-filled joints.
A no-shoe policy reduces indoor dirt by at least 33%, which translates directly into less grime working its way into grout pores. It sounds minor but the cumulative effect over a year is significant.
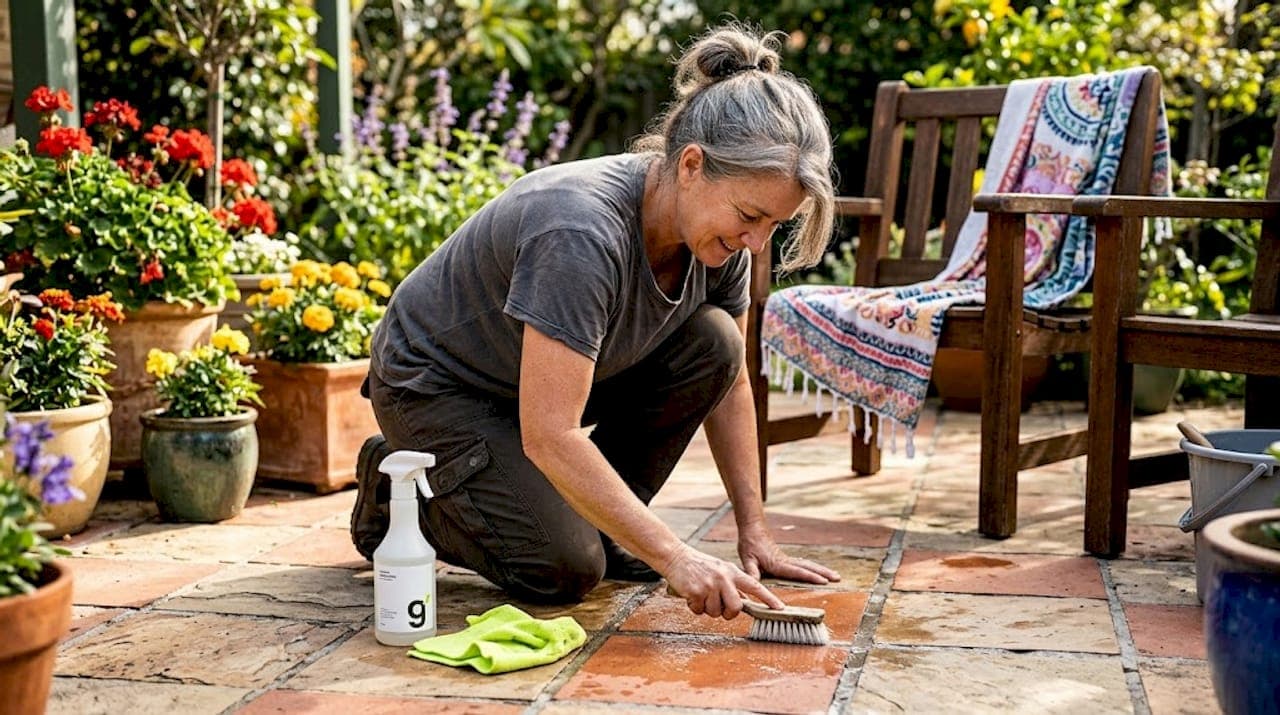
Grout cleaning techniques that actually work
Most cleaning advice tells you to scrub harder and use stronger products. That approach damages grout rather than preserving it. The best grout maintenance for tile focuses on frequency and method, not brute force.
Here is a practical routine that protects both your grout and your tiles:
- Vacuum weekly with a soft brush attachment. Vacuuming tile floors weekly removes loose dirt before it has a chance to embed. A microfibre cloth sweep works too, but vacuum is more thorough for textured tiles.
- Mop with a neutral-pH cleaner using a damp (not soaking wet) mop. Acidic cleaners like undiluted vinegar etch cement-based grout over time. Alkaline cleaners strip sealant. Neutral-pH products clean without degrading either surface.
- Use a grout brush for targeted scrubbing. A stiff-bristled grout brush with a purpose-made grout cleaner tackles staining at the source. Work in small sections and rinse thoroughly. Weekly attention to problem areas prevents the need for aggressive quarterly deep cleans.
- Steam clean for deep remediation. Steam cleaning kills mould and bacteria and removes embedded grime without chemicals. The high temperature loosens particles that scrubbing and mopping leave behind. A quality steam cleaner used monthly on kitchen and bathroom tiles extends grout life substantially.
- Dry wet areas after cleaning. Leaving water to air dry in grout joints, especially in areas with poor ventilation, encourages the mould growth cycle. Use a towel or fan to speed drying after any wet cleaning.
- Address stains immediately. A coffee spill or oil splash left for 24 hours penetrates grout far more deeply than one wiped up in the first few minutes. Fast attention to spills is one of the cheapest and most effective tips for cleaning grout available.
Pro Tip: Avoid using a steam mop on unsealed grout. The moisture and heat combination can push water deeper into unprotected pores. Seal first, then steam clean.
For property managers overseeing multiple properties, a high-traffic grime removal strategy that incorporates these techniques at regular intervals protects the tile investment across an entire portfolio, not just one bathroom.
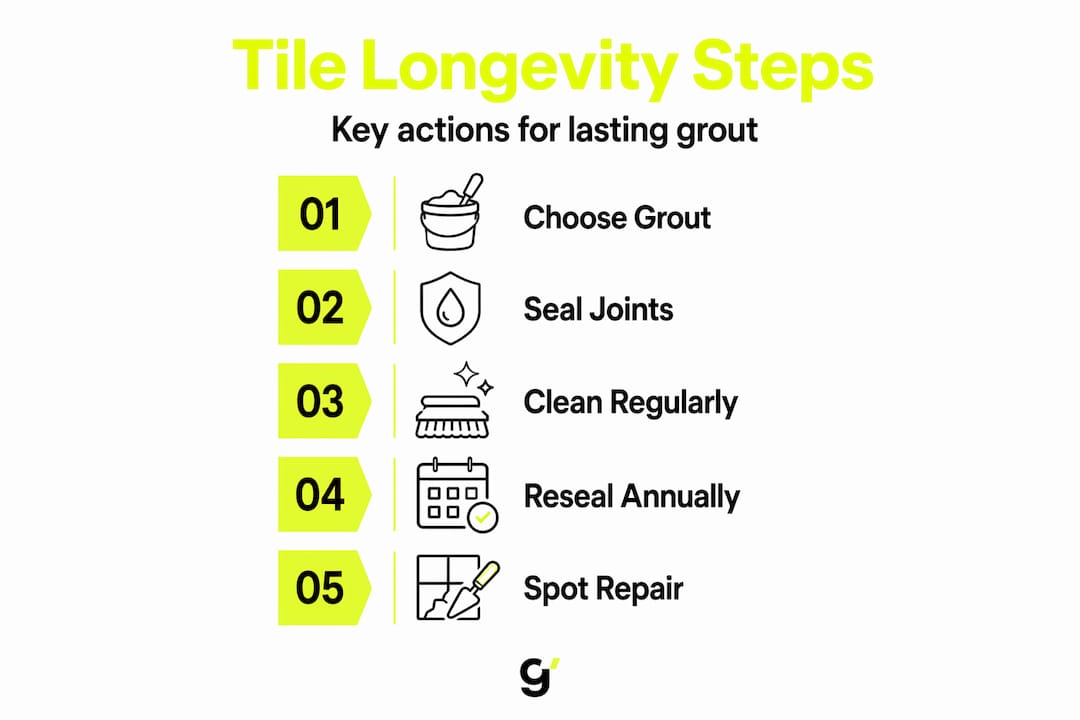
Choosing grout and sealers for long-term performance
Cleaning alone cannot compensate for the wrong grout or absent sealing. Getting these two things right from the start, or correcting them during renovation, determines how maintainable your tiles will be for years to come.
Sealing as a protective baseline
Sealing increases grout lifespan by 30 to 50% by blocking moisture and staining agents from penetrating porous cement grout. Penetrating sealers soak into the grout matrix and create an internal water-resistant barrier. Surface sealers coat the top and are easier to apply but wear faster under foot traffic.
Sealant effectiveness reduces over time and inspections with possible resealing at least annually are recommended in wet or high-traffic areas. Shower grout should be resealed every 12 months. Kitchen floors and entry areas every 18 to 24 months. Low-traffic areas like feature walls can go three years between applications.
Common mistakes homeowners make with grout selection and sealing:
- Using sanded grout in narrow joints, which causes cracking as the sand aggregate lacks room to bond correctly.
- Applying sealer to dirty or damp grout, which traps contaminants under the sealer rather than protecting against them.
- Skipping the sealer entirely on polymer-modified grout because it seems more durable, when in fact it still benefits from sealing in wet environments.
- Not waiting long enough after installation before sealing. Fresh grout needs 48 to 72 hours minimum to cure fully before sealer is applied.
Here is how different areas compare for sealing requirements:
| Area | Sealing frequency | Sealer type recommended |
|---|---|---|
| Shower walls and floor | Every 12 months | Penetrating sealer |
| Kitchen splashback | Every 18 months | Penetrating sealer |
| Entry and hallway floors | Every 12 to 18 months | Penetrating sealer |
| Laundry | Every 12 months | Penetrating sealer |
| Feature wall (low traffic) | Every 3 years | Surface or penetrating sealer |
For homeowners who want to build this into a broader sustainable cleaning routine, treating grout sealing as an annual maintenance task alongside gutter clearing and smoke alarm checks makes it far easier to stay consistent.
What I've learned from watching grout get neglected
I've seen the same story repeat across hundreds of tiled properties. Homeowners spend significant money on quality tiles. They pay for a professional installation. Then they mop the floor weekly for five years using a bucket of dirty water and wonder why the grout is black, cracked, and pulling away from the tile edges.
The real problem is not laziness. It is that nobody tells people grout needs active care. Tiles look fine for a long time even when the grout underneath is quietly deteriorating. By the time the damage is visible, it is usually already expensive to fix.
What I've found genuinely works is this: treat grout sealing like servicing your car. Miss one year and nothing obvious happens. Miss three years in a shower, and you are looking at recaulking, possible tile replacement, and maybe subfloor remediation. The maintenance effort is minimal compared to the repair cost.
The other thing I've noticed is that people who extend the life of their tiles significantly are the ones who never rely on a single deep clean per year to do the job. Consistent light maintenance across keeping a clean home between deep cleans is always more effective than periodic intensive effort. Grout responds to frequency, not force.
If you take one thing away from this: stop mopping tiled floors with a traditional wet mop and start vacuuming before any wet cleaning. That single change will noticeably extend your grout's useful life.
— Lead
Professional grout care that protects your investment

Knowing the best practices for tile care is one thing. Executing them consistently across a rental property or a large family home is another challenge entirely. Grimescene's deep cleaning services go beyond surface scrubbing to treat grout at the pore level using non-toxic agents that neutralise buildup without damaging the grout matrix or surrounding tiles. Their Scene Reset protocol for rentals is specifically designed for property managers who need thorough tile and grout remediation between tenants, protecting both the property and host ratings. For homeowners and property managers who want to book a cleaning appointment or discuss a regular grout maintenance schedule, Grimescene provides tailored solutions that suit everything from single bathrooms to full commercial tiling.
FAQ
What is the role of grout cleaning in tile longevity?
Regular grout cleaning removes the moisture, grime, and mould that degrade the grout matrix over time. Clean grout maintains its structural integrity, which prevents tiles from cracking, lifting, or allowing water to reach the subfloor.
How often should grout be sealed?
Shower grout should be resealed every 12 months, and sealant effectiveness reduces over time in high-traffic or wet areas. Low-traffic areas like feature walls can go up to three years between sealing applications.
Can I use vinegar to clean grout?
Undiluted vinegar is acidic enough to etch and weaken cement-based grout over repeated use. A neutral-pH cleaner is the better choice for regular grout maintenance, preserving both the grout and any sealer applied to it.
Why does my grout keep turning black?
Grout turns black primarily from mould, mildew, and deeply embedded grime. Traditional mopping pushes grime deeper into grout pores rather than removing it, accelerating this discolouration. Switching to vacuuming and extractive cleaning methods breaks this cycle.
What is the best grout type for a shower?
Polymer-modified grout offers the best performance in showers due to its superior stain resistance and flexibility. Paired with a penetrating sealer reapplied annually, it significantly outlasts standard sanded or unsanded cement grout in wet environments.