
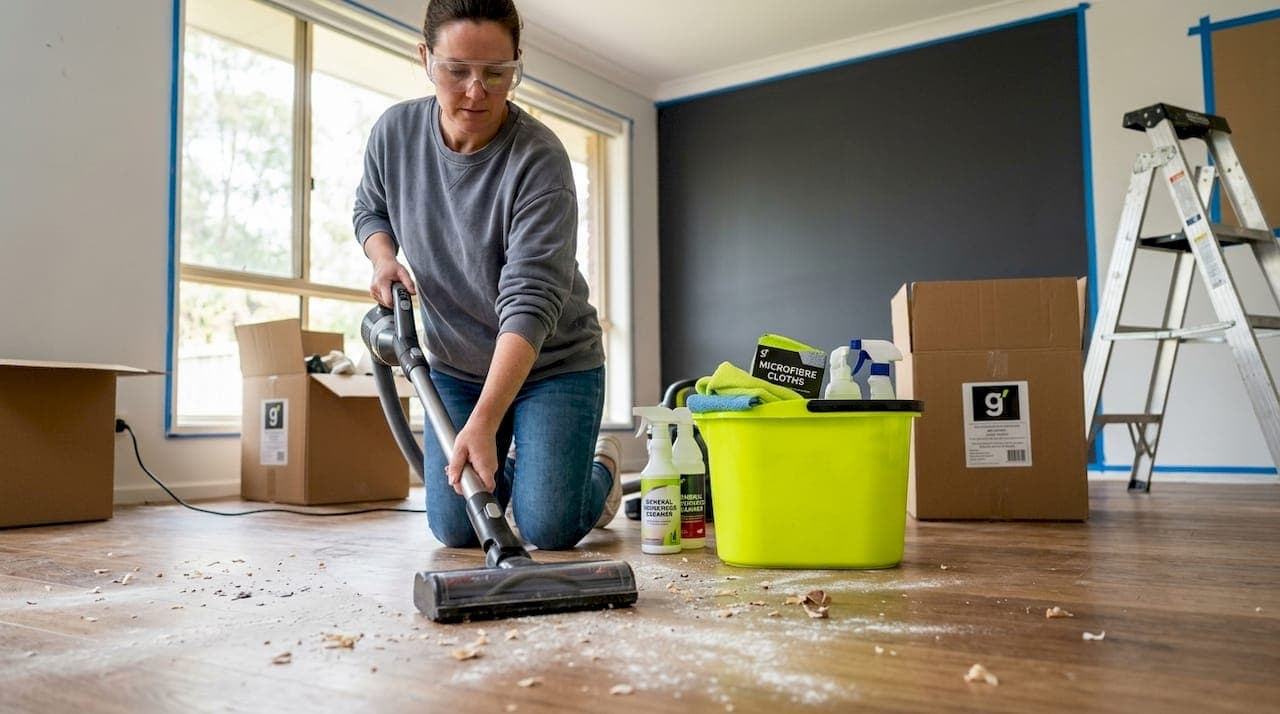
The moment the last tradie packs up and leaves, you're standing in a home that looks finished but feels far from liveable. Construction dust has settled into every crevice, paint specks dot your new floors, and a faint chemical smell hangs in the air. The process tradespeople call post-construction cleaning (what most of us simply call the big clean-up) is not optional. Done properly, it protects your health, preserves your new finishes, and turns a building site back into a home. This guide walks you through every step.
Table of Contents
- Key takeaways
- How to deep clean home after renovation: getting set up
- Removing construction dust room by room
- Health and safety: what you must not overlook
- Finishing touches: air quality and ongoing cleanliness
- What I have learned from post-renovation cleaning
- When to call in the professionals
- FAQ
Key takeaways
| Point | Details |
|---|---|
| Prep before you clean | Gather HEPA-filter vacuums, microfibre cloths, and safety gear before touching a surface. |
| Never dry sweep | Dry sweeping re-suspenses silica and lead dust; always use wet methods or HEPA vacuums. |
| Work top to bottom | Start at ceilings and light fittings, finish at floors to avoid re-contaminating cleaned surfaces. |
| Test for hazardous dust | Homes built before 1978 may need certified lead-dust clearance testing before re-occupancy. |
| Maintain air quality last | Replace HVAC filters and run air purifiers after the physical clean to lock in the result. |
How to deep clean home after renovation: getting set up
Before a single cloth touches a surface, you need the right tools and a clear plan. Skipping this stage is the single biggest reason DIY post-renovation cleaning takes twice as long as it should.
What you'll need
| Tool | Why you need it |
|---|---|
| HEPA-filter vacuum | Traps fine particles rather than recirculating them into the air |
| Microfibre cloths | Catch dust without scattering or scratching delicate surfaces |
| Flat mop with washable pad | Wet-mops floors without spreading grime from room to room |
| Bucket with two compartments | Keeps rinse water separate from your cleaning solution |
| Eco-friendly surface cleaner | Removes residues without damaging new paint or sealants |
| P2 or N95 respirator mask | Blocks fine construction particles from your lungs |
| Nitrile gloves and safety glasses | Protects skin and eyes during chemical and dust contact |
Once your kit is assembled, close off any rooms that were not renovated. Seal doorways with plastic sheeting if possible. This prevents fine dust migrating to clean areas while you work. Open windows in the renovation zone itself to allow cross-ventilation, and if you own a standalone air purifier, run it in the adjacent hallway to catch any particles that escape.
Pro Tip: Set up a designated "dirty zone" near your entry point: a doormat, a bin bag, and a place to remove footwear. Construction dust travels on boots more readily than most people realise.
Organise your cleaning supplies into a caddy so you are not walking back and forth across freshly wiped surfaces. Zone your home into sections (wet areas, living spaces, bedrooms) and tackle them in order rather than bouncing between rooms.
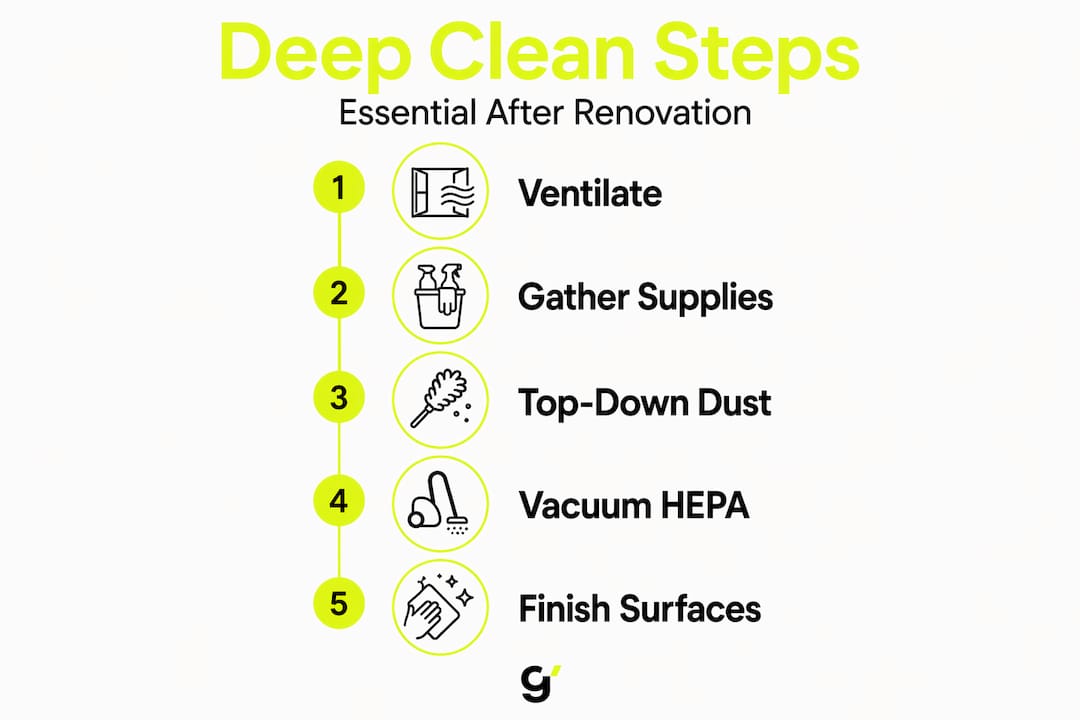
Removing construction dust room by room
The golden rule for post-renovation cleaning is this: always work from top to bottom, and never dry sweep. Dry sweeping aerosolises fine silica and other respirable particles, sending them back into the air you are about to breathe. HEPA-filter vacuuming followed by damp wiping is the method recommended by occupational health authorities for good reason: it works.
Here is the sequence that delivers the best result:
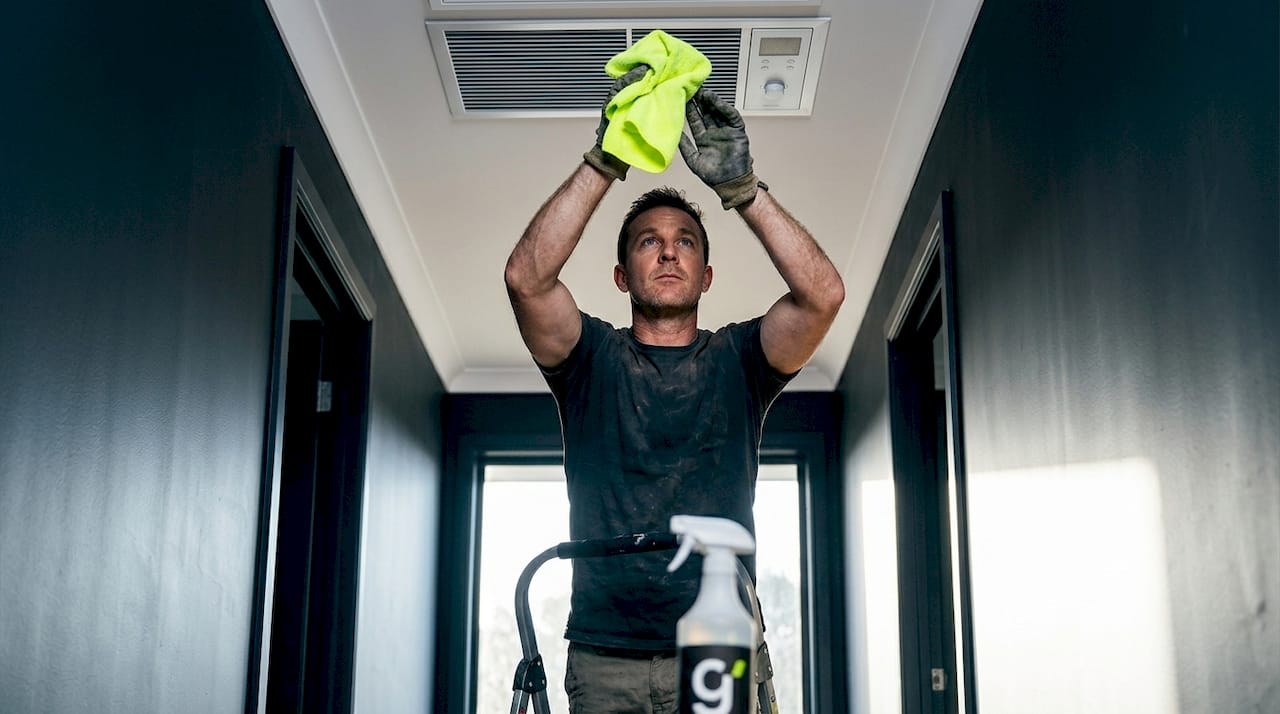
- Vacuum ceiling fans, light fittings, and cornices. Use the brush attachment on your HEPA vacuum. These surfaces accumulate enormous amounts of fine dust that will fall onto everything below if you clean them last.
- Wipe walls and window frames with a damp microfibre cloth. Work in horizontal passes from top to bottom. Rinse the cloth frequently. Renovation dust can stain new paint if left to bond with moisture over time.
- Clean air vents, light switches, door handles, and power points. These small surfaces are touched constantly and often missed entirely. A cloth dampened with a mild all-purpose cleaner handles them in seconds.
- Vacuum carpets and rugs with two passes in perpendicular directions. One pass misses particles that are sitting at an angle to the fibres.
- HEPA-vacuum hard floors before mopping. Never go straight to mopping on an uncleaned floor. You will just push grit around and scratch the surface.
- Wet-mop hard floors with a wrung-out flat mop. Change the water every room. Grey mop water is a sign you are spreading, not removing, grime.
- Clean windows last. Use a streak-free glass cleaner and finish with a dry microfibre cloth for a clear result.
Pro Tip: For stubborn paint specks on hard floors or tiles, a plastic scraper (not metal) at a low angle removes them without scratching. Follow up immediately with your damp cloth.
A comprehensive top-to-bottom clean including floors, walls, vents, and fixtures is what separates a liveable space from one that continues to irritate airways and discolour surfaces for months after the build.
Health and safety: what you must not overlook
Post-renovation cleaning is not purely cosmetic. Two hazards in particular require more than a vacuum and a mop.
Silica dust
Silica is released when concrete, brick, tiles, or stone are cut, drilled, or sanded. Even after the tradespeople leave, residual silica dust sits on surfaces and inside vents. Inhaling it over time causes serious lung disease. The recommended approach is wet cleaning combined with HEPA-filter vacuuming. Compressed air and dry sweeping are explicitly off the table.
Lead paint in older homes
If your home was built before 1978, there is a real possibility that renovation work disturbed lead-based paint. This is not a minor inconvenience. Lead dust clearance testing is a federally mandated requirement after work that disturbs lead paint in pre-1978 housing in many jurisdictions, with clearance thresholds set at 40 µg/ft² for floors, 250 µg/ft² for interior windowsills, and 400 µg/ft² for window troughs.
Critically, lead-safe work practices alone do not guarantee post-renovation dust levels meet regulatory clearance thresholds. Professional clearance testing by a certified inspector is the only way to verify compliance and ensure your family is not at risk.
Clearance verification follows a specific sequence: thorough cleaning first, a waiting period for dust to settle, then certified wipe sampling compared against the thresholds above. The sampling must wait until after dust has fully settled, otherwise results undercount actual lead levels. If you are in any doubt, engage a certified lead inspector rather than relying on visual inspection alone.
For a practical overview of apartment and property cleanout protocols that include hazardous material considerations, the linked resource covers the topic well for residential contexts too.
Finishing touches: air quality and ongoing cleanliness
Once the physical surfaces are clean, your air still carries the remnants of the job. Fine particles that did not land anywhere visible are still circulating.
Here is what to do in the final stage of your post-renovation clean:
- Replace your HVAC filters immediately. Construction dust loads standard filters rapidly. A clogged filter recirculates particles rather than capturing them. Use a filter rated MERV 11 or higher after renovation work.
- Clean or flush duct registers. Remove the vent covers, vacuum inside as far as your attachment reaches, then wipe the covers before replacing them.
- Run an air purifier with a HEPA filtration system for at least 48 to 72 hours after the physical clean. HEPA air purifiers trap particles down to 0.3 microns, which covers the fine silica and construction dust that standard filters miss.
- Leave windows open during and after cleaning where outdoor air quality permits. Cross-ventilation dilutes airborne particle concentration faster than any single device.
- Schedule a follow-up clean one to two weeks later. Dust that settled into fabrics, behind furniture, and inside cabinetry during the renovation will gradually redistribute once the home is lived in again.
Building a sustainable cleaning routine after the initial deep clean makes it significantly easier to maintain the standard you have just achieved. The first three months after renovation are when most of the residual dust works its way out of hidden spaces. Staying ahead of it with fortnightly attention saves you from another full clean-up later.
For ongoing guidance, maintaining cleanliness between deep cleans is worth reading once you have completed the initial post-renovation phase.
What I have learned from post-renovation cleaning
I have seen enough post-renovation homes to know that most DIY cleaning efforts fail in the same two places: vents and wet areas.
People vacuum the floors beautifully, wipe every skirting board, and then completely ignore the duct registers. Six weeks later, the dust is back on every surface because the air system is redistributing what was never removed in the first place. It is an easy fix, but you have to know to look for it.
The other mistake I see constantly is using harsh chemical cleaners on new surfaces without checking compatibility first. New grout, fresh paint, and unsealed stone can all be damaged by the wrong product. Eco-friendly, pH-neutral cleaners do the job on construction residues without the risk. I have watched people strip the sealer off brand new floor tiles because they used an acidic bathroom cleaner that was sitting under the sink.
My honest take: if your renovation involved any grinding, tiling, or structural work, do not skip the hazardous dust assessment. I have seen families move back into homes where the silica or lead dust levels were far outside safe thresholds, entirely unaware. The cost of a professional clearance test is trivial compared to the health consequences of getting it wrong. For most renovations, a thorough DIY clean is perfectly adequate. For anything involving old paint, plaster removal, or concrete cutting, get a professional involved for at least the testing phase.
— Lead
When to call in the professionals

Even the most capable DIY cleaner hits a point where the scale, the hazards, or the time commitment tips the balance toward professional help. Professional post-construction cleaning uses commercial-grade HEPA vacuums, window washing systems, duct cleaning equipment, and specialist residue removers that simply are not available from a hardware store.
Grimescene's post-renovation cleaning services are built around exactly this scenario. The team uses non-toxic, eco-friendly agents that neutralise construction residues without leaving harsh chemical traces on your new surfaces. Whether it is a single-room bathroom renovation or a whole-home project, Grimescene deploys the right equipment and the right process to get your home genuinely clean, not just visually clean. If your timeline is tight or the renovation involved any hazardous materials, booking a rapid response team is the fastest path to a safe, comfortable home.
FAQ
What is the first step to deep clean after renovation?
Start by ventilating the space and gathering HEPA-filter vacuums and microfibre cloths before touching any surface. Work from the ceiling down, vacuuming first and wet-wiping second, to avoid re-depositing dust.
How long does post-renovation cleaning take?
A single-room renovation typically takes three to five hours for a thorough DIY clean. A full-home renovation can take one to three full days depending on the scope of work and the number of dusty surfaces involved.
Do I need professional cleaning after renovation?
For most standard renovations, a thorough DIY clean using the steps above is sufficient. Renovations involving lead paint, silica-generating work, or large-scale construction benefit significantly from professional cleaning services and certified clearance testing.
Is dry sweeping safe after a renovation?
No. Dry sweeping re-suspends fine silica and other hazardous particles into the air you breathe. Use a HEPA-filter vacuum or wet-sweeping methods instead, as recommended by occupational health guidelines.
How do I improve air quality after a renovation?
Replace HVAC filters with a MERV 11 or higher rating, clean all duct registers, and run a HEPA air purifier continuously for at least 48 to 72 hours after the physical clean is complete.