
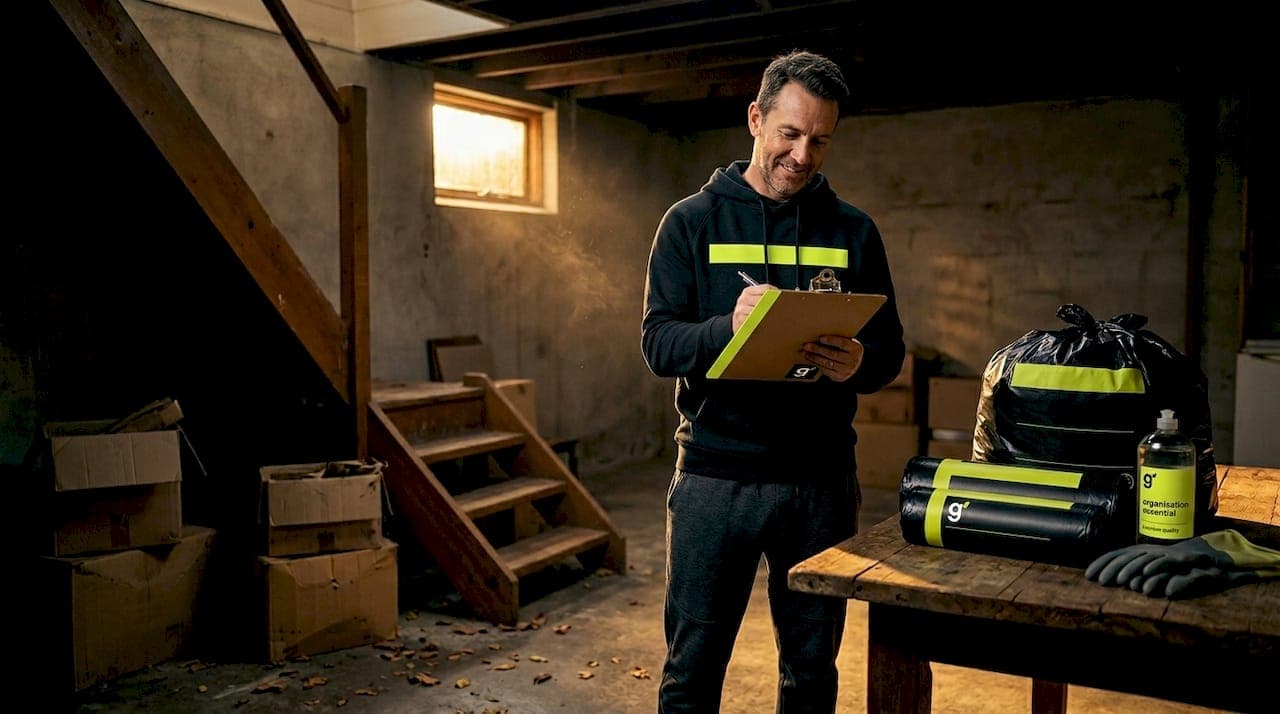
Most basements start as storage space and slowly become the room nobody talks about. By the time you're ready to tackle a proper clean, you're looking at years of accumulated clutter, mystery boxes, and the lingering smell of damp. A solid basement deep clean preparation checklist is what separates a productive weekend from a frustrating one. Get the prep right and the actual cleaning becomes almost straightforward. Skip the prep and you'll spend three hours moving things from one pile to another and calling it a day.
Table of Contents
- Key takeaways
- 1. Build your basement deep clean preparation checklist
- 2. Decluttering essentials: sorting and removing before you clean
- 3. Moisture control: the step most people skip
- 4. Safety and equipment checklist for basement cleaning
- 5. Organising for the long term after your deep clean
- 6. Preparing your basement if you're cleaning before a sale
- What I've learned after years of basement cleaning prep
- When to bring in a professional for your basement clean
- FAQ
Key takeaways
| Point | Details |
|---|---|
| Assess before you start | Walk the space and note moisture issues, mould signs, and clutter zones before touching anything. |
| Declutter with a system | Sort items into keep, relocate, donate, and discard categories to speed up the clean dramatically. |
| Moisture control comes first | Address damp and leaks before deep cleaning or you'll be back doing it all over again in months. |
| Safety gear is non-negotiable | Gloves, an N95 mask, and goggles are the minimum before handling basement dust and potential mould. |
| Organise for the long term | Post-clean storage choices determine how long your basement stays clean between deep cleans. |
1. Build your basement deep clean preparation checklist
Before a single bin bag is opened, you need a plan. The biggest mistake people make with basement cleaning is diving straight into the physical work without understanding the scope of what they're dealing with. A basement deep clean preparation checklist gives you structure and stops the day from becoming chaotic.
Start by walking the entire space with a notepad or your phone. Note every problem you see: water stains on the walls, condensation on pipes, mould patches, crumbling shelving, broken items, and areas where clutter has taken over. This is your baseline assessment and it determines everything that follows.
From there, set a realistic goal based on how you actually use the space. A basement that functions as a workshop needs different preparation than one used purely for storage or one you're converting into a living area. Write down your intended outcome clearly. "I want this space to be dry, organised, and usable for laundry and seasonal storage" is more useful than "I want it clean."
Pro Tip: Set a dedicated timeline before you start. Assign specific tasks to each hour or day. A full basement prep for an average-sized home typically needs two full days: one for decluttering and sorting, one for moisture work and cleaning prep.
2. Decluttering essentials: sorting and removing before you clean
Clutter is the number one obstacle to a thorough basement clean. You cannot properly sweep, scrub, or treat surfaces that are buried under boxes and furniture. Decluttering is not a side task. It is the task that makes everything else possible.
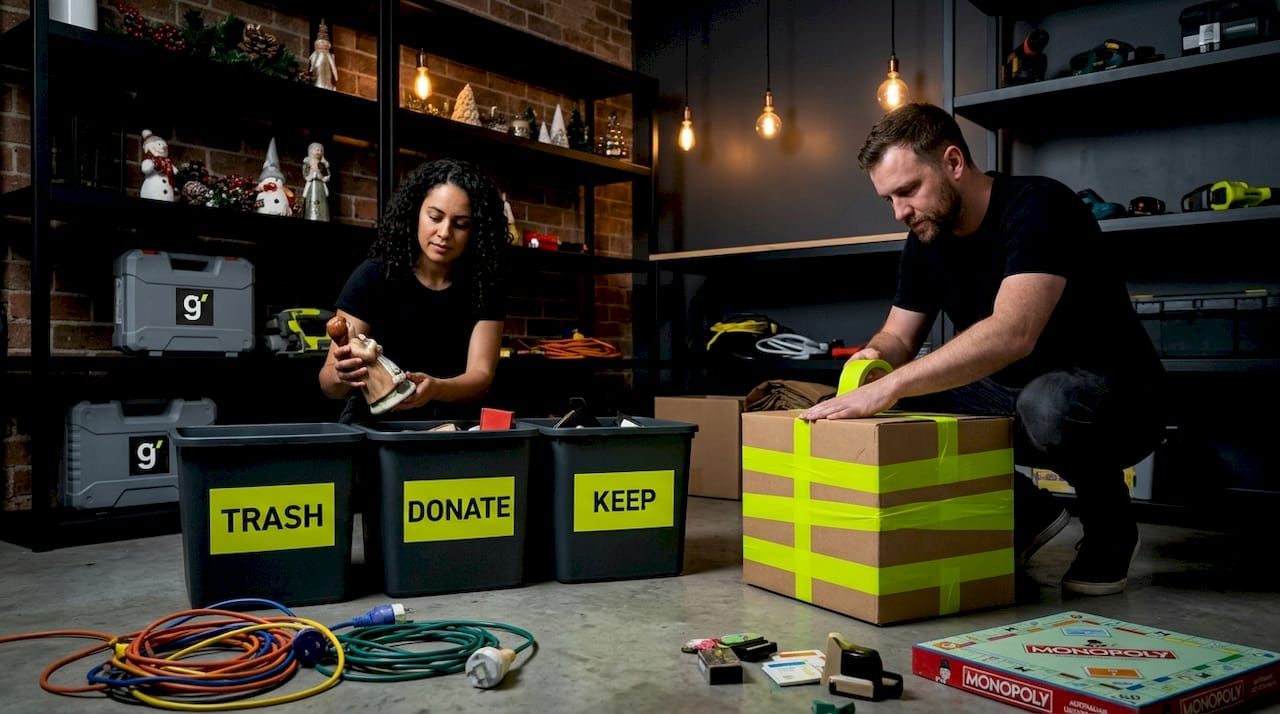
A clear sorting system dramatically speeds up this stage. Use four clearly labelled bins or zones:
- Keep — items you use regularly and will return to the basement after cleaning.
- Relocate — things that belong elsewhere in the home.
- Donate — usable items you no longer need.
- Discard — broken, mouldy, or genuinely unusable items.
Apply the 12-month rule without sentimentality. If you have not touched something in the past year and it has no genuine future use, it goes into the donate or discard pile. This rule is especially useful for seasonal equipment, old paint tins, and sports gear.
Work zone by zone rather than across the whole floor at once. Completing one section before moving to the next builds momentum and makes it easier to make clear decisions on what stays and what goes. Start with the area nearest the stairs where traffic is highest.
For bulky or heavy items, have someone help you lift rather than dragging across the floor. Dragging concrete scratches and can spread moisture damage across a wider surface area. Once decluttering is complete, the floor and wall surfaces are exposed and ready for the next stage.
Pro Tip: Bag all discard items immediately and move them out of the basement on the same day. Leaving discard piles in the space causes them to creep back into the "keep" category by day two.
3. Moisture control: the step most people skip
This is the section where a good basement cleaning guide separates itself from a basic one. Moisture is the underlying problem in almost every basement. If you clean without addressing it first, you are setting yourself up for the same problems in six months.
Look for these moisture warning signs during your assessment:
- White chalky deposits (efflorescence) on concrete or brick walls
- Rust stains near floor drains or pipe bases
- A musty smell that doesn't improve when you open windows
- Condensation on cold pipes or walls
- Visible mould patches on stored items or wall surfaces
Mould begins colonising wet porous surfaces within 24 to 48 hours. This is why speed matters when dealing with any water ingress. If you've had recent flooding or a leak, water extraction comes before everything else.
Standard household vacuums are unsafe for liquid removal. You need a wet-dry vacuum or a submersible pump for any standing water. Once water is removed, set up the drying equipment. The professional standard is combined air movement and dehumidification rather than either one alone. A commercial dehumidifier paired with two or three directional fans across a typical basement moves the drying process from days to hours.
| Drying method | Best used for | Effectiveness alone |
|---|---|---|
| Dehumidifier only | Ongoing humidity control | Moderate |
| Fans only | Surface-level evaporation | Low |
| Combined dehumidifier and fans | Post-flooding or heavy damp | High |
| Wet-dry vacuum | Standing water extraction | High for water removal |
Once the space feels dry, do not trust your eyes. A pin-type moisture meter confirms actual dryness in walls and floors before you reinstall shelving or apply any finishes. Wood should read below 15% moisture content before you consider the space truly dry.
Pro Tip: If you find wet drywall, cut it at least 30 centimetres above the waterline and remove all wet insulation completely. Leaving either in place creates a hidden mould environment that no amount of surface cleaning will fix.
4. Safety and equipment checklist for basement cleaning
Basements are dirtier than they look. Beyond dust and cobwebs, you may be dealing with mould spores, old pesticides, rodent droppings, or sewage residue. The right gear protects you from all of it.
Proper PPE is your minimum entry requirement for a serious basement deep clean. Gather the following before you start:
- N95 or P2 respirator mask for mould spores and fine dust
- Nitrile gloves (not thin latex) for chemical and biological protection
- Safety goggles to protect eyes from ceiling dust and spray-back
- Old clothing or a disposable coverall that you don't mind discarding
- Closed-toe shoes with grip for wet or uneven floors
Your essential basement cleaning supplies list should also include:
- Wet-dry vacuum with HEPA filtration
- Stiff-bristled broom and dustpan for loose debris
- Microfibre mop for sealed floors
- Bucket and scrubbing brush for textured concrete
- Non-toxic mould treatment spray (look for eco-grade options that don't leave chemical residue)
- White vinegar or baking soda solution for general surface cleaning
- Heavy-duty bin bags and a wheelbarrow if items need to go to the kerb
If you suspect sewage contamination or significant mould coverage (more than one square metre), stop and call a professional. These situations require specialist equipment and training that goes well beyond a DIY clean.
5. Organising for the long term after your deep clean
Getting the basement clean is satisfying. Keeping it that way requires a different kind of thinking. The organisation choices you make immediately after cleaning determine how long the results last.
Concrete floors wick moisture upward. Nothing should sit directly on bare concrete. Use freestanding shelving units rated for damp environments and keep all items at least 10 centimetres off the ground. For stored belongings, sealed plastic tubs outperform cardboard boxes in every basement environment. Cardboard absorbs moisture and provides a food source for mould and pests.
Here's a comparison of storage options for humid basement conditions:
| Storage type | Moisture resistance | Cost | Best for |
|---|---|---|---|
| Sealed plastic tubs | Excellent | Moderate | Clothing, documents, soft goods |
| Cardboard boxes | Poor | Low | Not recommended for basements |
| Metal shelving | Good (with coating) | Moderate to high | Heavy equipment, tools |
| Fabric storage bins | Poor | Low | Dry areas only |
| Vacuum-sealed bags | Excellent | Low to moderate | Seasonal clothing and bedding |
Zone your storage with a labelling system. Group items by category (seasonal, tools, sports, holiday) and mark every box or bin clearly. This sounds basic but most basements fail here because the labelling never happens in the moment.
For ongoing upkeep, biannual decluttering resets prevent clutter from silently accumulating again. Set a reminder for April and October each year to do a 30-minute walkthrough, consolidate any half-empty bins, and check for moisture signs.
Pro Tip: Read up on maintaining your clean results between full deep cleans. Monthly five-minute checks on your dehumidifier, drain, and moisture meter readings add up to far less labour than another full prep and clean cycle.
6. Preparing your basement if you're cleaning before a sale
Cleaning a basement before a sale is a different project to a routine deep clean. Buyers inspect basements carefully and they are looking for red flags: moisture stains, mould smell, cracked walls, and signs of flooding history. Your prep work needs to address presentation as well as hygiene.
Prioritise visible moisture remediation first. Fresh efflorescence or water staining on walls tells a buyer the drainage is poor regardless of how clean the floor is. Protect and elevate stored items if you need to keep anything in the space, and make the floor as clear as possible. Empty is almost always better than organised when it comes to buyer perception.
Repaint concrete walls and floors with a waterproof sealant paint if there is staining that cannot be scrubbed clean. This step is labour-intensive but makes the biggest visual difference per dollar of effort. Repaint in a neutral light grey or white to make the space feel brighter and more spacious.
Finally, manage the smell. A musty odour is the fastest way to lose a buyer's confidence. Address the moisture source, not just the symptom. Running a dehumidifier for several days before inspections and placing activated charcoal odour absorbers around the space makes a measurable difference.
What I've learned after years of basement cleaning prep
In my experience, the single most expensive mistake homeowners make is treating moisture as something they'll "deal with later." I've seen it repeatedly: someone spends a full weekend cleaning their basement, paints the floors, reorganises storage beautifully, and six months later they're back at the beginning because the underlying damp was never fixed. Early action on moisture is the difference between a one-time effort and an endless cycle.
The other pattern I see constantly is people underestimating how long decluttering actually takes. A basement that has accumulated a decade of belongings is not a four-hour project. Budgeting properly for the decluttering stage means you don't run out of time and energy before the real cleaning has even begun.
What genuinely pays off is the upfront organisation. Spending an extra hour labelling storage zones and choosing the right bins post-clean means your next visit to the basement is actually pleasant. That might sound like a small thing, but it changes how people use the space entirely.
— Lead
When to bring in a professional for your basement clean

There's a point in every basement project where DIY prep is not enough. If you're dealing with mould coverage beyond a small patch, any history of sewage backup, or a flood event from the past year, professional remediation is the right call before you pick up a single cleaning product yourself.
Grimescene specialises in exactly this kind of situation. Using non-toxic, commercial-grade agents that actually neutralise built-up grime rather than masking it, the team handles the heavy-duty remediation work so your DIY prep effort isn't wasted. For homeowners and renters who want the deep work done properly, booking a cleaning appointment with the Grimescene team means the space is genuinely reset to a clean baseline. From there, your organisation and maintenance plan can actually hold.
If you're not sure whether your basement needs professional intervention, start with the home preparation guide to understand when to call in expert support.
FAQ
What should I do first when preparing a basement for a deep clean?
Start with a full walkthrough to assess moisture, mould, and clutter before touching anything. This assessment guides every step that follows and prevents wasted effort.
How do I know if my basement has a moisture problem?
Look for white chalky deposits on walls, a persistent musty smell, rust near floor drains, or visible mould on stored items. A pin-type moisture meter gives you a definitive reading when visual signs are unclear.
Can I use a regular vacuum cleaner to clean up basement water?
No. Standard household vacuums are not safe for liquid extraction and pose an electrical risk. Use a wet-dry vacuum or submersible pump for any standing water before switching to regular cleaning tools.
How often should I do a basement deep clean?
A full deep clean once a year is reasonable for most basements, with biannual 30-minute maintenance checks to catch moisture issues and clutter before they compound.
What is the most important safety equipment for cleaning a basement?
An N95 or P2 respirator mask, nitrile gloves, and safety goggles are the minimum for any serious basement clean, particularly when mould, dust, or chemical residue may be present.