
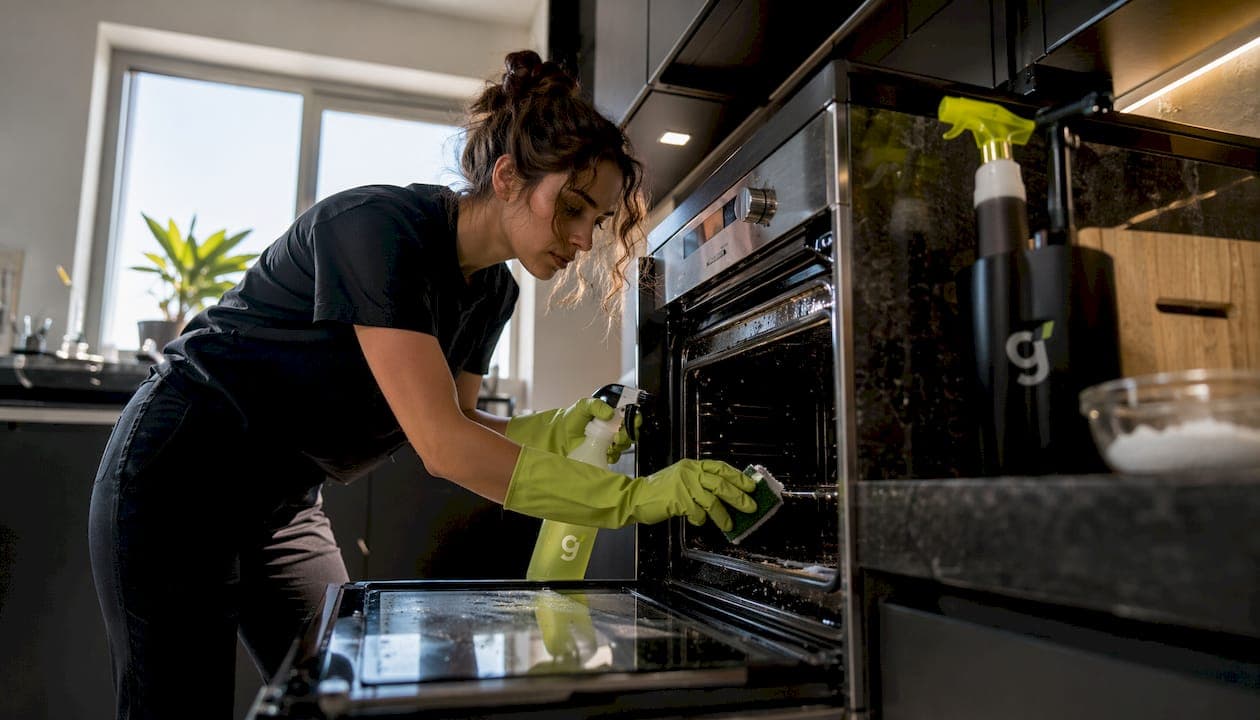
Kitchen degreasing is defined as the process of removing polymerised and emulsified fats from surfaces using chemical agents matched to grease type, surface material, and cleaning frequency. The three core chemical categories are alkaline degreasers, solvent-based degreasers, and enzyme-based degreasers, and each works differently depending on the fat composition and surface involved. Choosing the wrong category does not just reduce results. It can permanently damage finishes. This kitchen degreasing methods comparison list cuts through the confusion so you can match the right cleaner to the right job, every time.
1. Alkaline degreasers for heavy, baked-on grease
Alkaline degreasers are the strongest category in any kitchen cleaning methods review. They carry a pH of 12–14 and contain active ingredients such as sodium hydroxide or potassium hydroxide. These compounds trigger a chemical reaction called saponification, which converts fat molecules into water-soluble soap that rinses away cleanly.
The chemistry makes alkaline degreasers the go-to choice for oven interiors, stainless steel range hoods, and commercial-grade stovetops. However, alkaline formulas damage aluminium, wood finishes, and some stone surfaces, so always test in a hidden spot before full application. Stainless steel and vitreous enamel handle these cleaners well.
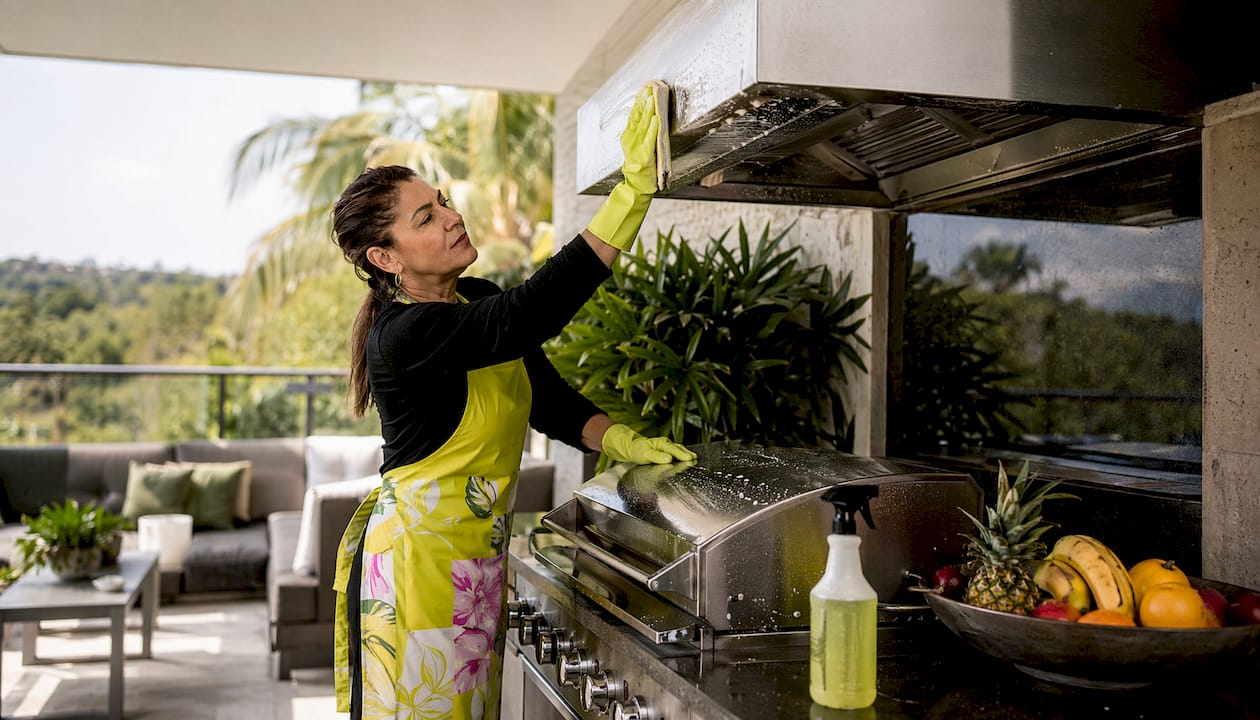
Dwell time matters significantly with alkaline products. Medium grease messes need 5–10 minutes of contact time, while heavy caked-on deposits require 30 minutes to overnight for the saponification process to fully break down the fat. Skipping dwell time is the single most common reason alkaline degreasers underperform.
Key application points for alkaline degreasers:
- Apply to a microfiber cloth first, not directly onto the surface
- Allow full dwell time before wiping
- Rinse thoroughly with clean water to remove all residue
- Wear gloves and work in a ventilated space
- Never use on aluminium, untreated wood, or natural stone
Pro Tip: Warm the surface slightly with a damp hot cloth before applying an alkaline degreaser. Heat accelerates saponification and cuts your scrubbing time considerably.
2. Solvent-based degreasers for sticky, moderate residues
Solvent-based degreasers work by dissolving the molecular bonds within grease rather than converting it chemically. Common solvents include citrus d-limonene, derived from orange peel, and petroleum distillates. Citrus d-limonene is the preferred choice for household kitchens because it carries a lower toxicity profile and a pleasant scent.
These cleaners excel on sticky, moderate residues such as cooking oil splatter on splashbacks, grease film on range hood exteriors, and residue on glass oven doors. They are less suited to heavily carbonised or polymerised grease, where alkaline chemistry performs better.
Surface compatibility is broader than with alkaline products. Solvent-based options generally tolerate painted surfaces, some plastics, and laminate finishes, though petroleum-based variants can degrade certain rubber seals and plastics over time. Ventilation is non-negotiable when using petroleum distillate products indoors.
Compared to alkaline cleaners for daily use, solvent-based degreasers are gentler and faster acting on light-to-moderate grease. They suit a weekly wipe-down routine far better than a heavy-duty alkaline formula, which is overkill for fresh cooking residue.
Key considerations for solvent-based degreasers:
- Choose citrus d-limonene formulas for indoor kitchen use
- Open windows and run the exhaust fan during application
- Check compatibility with plastic fittings and rubber seals before use
- Do not leave solvent products on surfaces longer than the label recommends
- Follow with a clean damp cloth to remove any solvent film
3. Enzyme-based and eco-friendly degreasing for regular maintenance
Enzyme-based degreasers use biological catalysts, specifically lipase enzymes, to break down fat molecules into smaller compounds that water can carry away. The process is slower than alkaline saponification but leaves no harsh chemical residue on surfaces. EU Ecolabel-certified plant-based enzymatic formulas have demonstrated comparable efficacy to traditional cleaners when paired with proper mechanical agitation.
Enzyme cleaners need longer dwell times to work. Leaving the product on a greasy surface for 10–20 minutes before wiping gives the enzymes time to fully digest the fat. Rushing this step produces mediocre results and leads people to wrongly dismiss enzymatic products as ineffective.
The benefits for regular kitchen maintenance are real. Biodegradable formulas are safe around children and pets, they do not off-gas volatile compounds, and they protect delicate kitchen finishes that alkaline products would strip. For a household running a weekly cleaning routine, an enzyme-based product is the most practical and responsible choice.
Enzyme cleaners are not the right tool for baked-on carbonised grease. For that level of buildup, an alkaline pre-treatment followed by an enzyme maintenance clean is the most effective sequence.
Best uses for enzyme-based degreasers:
- Weekly wipe-downs of stovetop surrounds and splashbacks
- Cleaning inside microwave ovens and refrigerator shelves
- Maintaining range hood filters between deep cleans
- Degreasing surfaces in homes with young children or pets
- Any surface where residue-free results matter
Pro Tip: Spray the enzyme cleaner, cover the area with a damp cloth to trap moisture, and leave for 15 minutes. The humidity keeps the enzymes active and dramatically improves results on stubborn film.
4. Mechanical agitation: the step most people skip
Mechanical action is as important as the chemical solution in effective grease removal. Without physical scrubbing, a degreaser simply spreads emulsified grease across a surface rather than lifting it away. The right tool for the job depends on the surface.
- Microfiber cloths work best on smooth surfaces like stainless steel, glass, and painted cupboard doors. They trap emulsified grease in their fibres rather than smearing it.
- Non-scratch nylon pads suit stovetop surrounds, ceramic hobs, and enamel surfaces where light abrasion is acceptable.
- Stiff-bristle brushes are the correct tool for extractor fan grilles, range hood filters, and tile grout lines where cloths cannot reach.
- Soft-bristle brushes handle carved or moulded cupboard door profiles without scratching the finish.
Heat is the other underrated variable. Heating a water-based cleaning solution above 60°C speeds up grease emulsification significantly. Even 30 seconds of heating can reduce scrubbing time by up to 10 minutes. A bowl of very hot water used to rinse your cloth between passes keeps the cleaning temperature high throughout the job.
Pro Tip: Always wring your cloth almost dry before wiping varnished or painted cupboard doors. Moisture on porous surfaces causes finish bubbling and water damage that no degreaser can fix.
5. Surface-specific application techniques
Applying degreasers correctly prevents streaks, finish damage, and wasted product. The single most important rule: spray onto the cloth, not onto the surface. On vertical surfaces like cupboard doors and range hood panels, spraying directly causes the product to run, leaving streak marks and depositing concentrated cleaner in crevices.
For stovetops, remove grates and burner caps first and soak them separately in a hot alkaline solution. Clean the flat stovetop surface with a non-scratch pad and a solvent or alkaline degreaser, working from the outside in to avoid spreading grease toward the burner ports.
Extractor fan filters accumulate polymerised grease that resists spray-on products. Submerge metal filters in a sink of very hot water with a measured dose of alkaline degreaser and allow 20–30 minutes of soak time. A stiff brush finishes the job. Plastic filters need a solvent or enzyme product instead, as alkaline solutions can warp or discolour them.
For painted or varnished cupboard doors, use an enzyme or citrus solvent product on a nearly dry microfiber cloth. Follow immediately with a dry cloth to pull away moisture. Dry microfiber cloths after degreaser application prevent water bubbles and protect the finish from long-term damage.
6. How to choose the right degreasing method for your kitchen
Matching the degreaser to the situation is the core skill in any effective grease removal strategy. The table below compares the three main chemical categories across the factors that matter most for household use.
| Feature | Alkaline degreasers | Solvent-based degreasers | Enzyme-based degreasers |
|---|---|---|---|
| pH range | 12–14 | Variable (near neutral) | 6–8 (near neutral) |
| Best grease type | Heavy, baked-on, carbonised | Moderate, sticky, oily film | Light to moderate, organic |
| Dwell time | 5 minutes to overnight | 2–10 minutes | 10–20 minutes |
| Safe surfaces | Stainless steel, enamel, tile | Painted surfaces, glass, laminate | All surfaces including wood and plastic |
| Environmental impact | High (corrosive, needs rinsing) | Moderate (citrus variants lower) | Low (biodegradable) |
| Ideal use frequency | Monthly deep clean | Weekly maintenance | Daily or weekly routine |
For layered grease, combining methods works well. Apply an alkaline product first to break down the heavy deposit, rinse thoroughly, then follow with an enzyme cleaner for the residual film. Never mix alkaline and solvent products in the same application. The chemical interaction can produce fumes and reduce the effectiveness of both products.
Removing grease without harsh chemicals is achievable for most routine kitchen cleaning scenarios. Reserve alkaline formulas for the jobs that genuinely need them, and your surfaces will last longer.
Key takeaways
The most effective kitchen degreasing method is always the one matched to the grease severity, surface material, and cleaning frequency, with alkaline products leading for heavy buildup and enzyme cleaners winning for safe, regular maintenance.
| Point | Details |
|---|---|
| Match chemistry to grease type | Alkaline for baked-on grease, solvents for sticky film, enzymes for routine maintenance. |
| Dwell time is non-negotiable | Heavy deposits need 30 minutes to overnight contact time for full chemical breakdown. |
| Mechanical action lifts grease | Scrubbing with the right tool removes emulsified grease; wiping alone just spreads it. |
| Spray onto the cloth, not the surface | Applying to a cloth prevents streaks and protects vertical surfaces from run damage. |
| Rinse alkaline products completely | Residue from strong degreasers attracts more grease and dust if not fully removed. |
What I have learned from years of watching kitchens get cleaned wrong
Most households own a multipurpose spray and call it a degreaser. They are not the same thing. True degreasers require thorough rinsing after use. Multipurpose sprays leave a film that acts like a magnet for the next round of grease and dust. The kitchen looks clean for two days, then feels tacky again. That is not a cleaning problem. It is a product selection problem.
The other thing I see constantly is people skipping mechanical action. They spray, they wait, they wipe once, and they wonder why the grease is still there. The chemical does the chemistry. Your cloth and your arm do the actual removal. Neither works without the other.
Eco-friendly options get dismissed too quickly. A quality enzyme cleaner with a proper dwell time and a good microfiber cloth handles the vast majority of household kitchen grease without any of the risks that come with corrosive alkaline products. The eco-cleaning vs traditional methods debate is largely settled for routine maintenance. Enzymes win on safety, surface longevity, and environmental impact. Alkaline products still win on raw power for the tough jobs. Use both, but use them correctly.
— Lead
When the grease is beyond a DIY fix
Some kitchen grease situations go past what any spray bottle and cloth can address. Baked-on carbonised buildup in commercial-grade ovens, years of accumulated filter grease in range hoods, and post-renovation kitchen grime all fall into a different category.

Grimescene's rapid response tactical clean is built for exactly these situations. The service deploys non-toxic, professional-grade agents that neutralise heavy grease buildup without damaging surfaces or leaving chemical residue behind. Grimescene works across residential and commercial kitchens, and the team understands which chemistry suits which surface. If your kitchen grease has defeated every method on this list, that is the call to make.
FAQ
What is the strongest type of kitchen degreaser?
Alkaline degreasers with a pH of 12–14, containing sodium hydroxide or potassium hydroxide, are the strongest category. They saponify fats into water-soluble soap and are best suited to baked-on or carbonised grease on stainless steel and enamel surfaces.
How long should I leave a degreaser on before wiping?
Dwell time depends on grease severity. Medium grease needs 5–10 minutes, while heavy caked-on deposits benefit from 30 minutes to overnight contact before wiping.
Are enzyme-based degreasers as effective as chemical ones?
Enzyme-based degreasers match traditional cleaners in efficacy for routine household grease when paired with proper mechanical agitation and a dwell time of 10–20 minutes. They are not suited to heavily carbonised or polymerised grease.
Can I use an alkaline degreaser on wooden cupboard doors?
No. Alkaline degreasers damage wood finishes, aluminium, and natural stone. Use a citrus solvent or enzyme-based product on a nearly dry microfiber cloth for painted or varnished cupboard doors.
Why does my kitchen feel greasy again so quickly after cleaning?
Multipurpose sprays leave a residue that attracts dust and new grease. A true degreaser, rinsed thoroughly after use, removes the fat completely and leaves no residue film to act as a magnet for the next layer of grime.