
Stubborn grout buildup is defined as the hardened accumulation of soap scum, mineral deposits, mould, and grime that bonds to grout lines over time and resists standard cleaning. Removing stubborn grout buildup steps fall into two categories: mechanical removal using tools like oscillating multi-tools and grout saws, and chemical cleaning using pastes made from baking soda and hydrogen peroxide. Both approaches work best together. This guide walks you through every stage, from gathering the right gear to sealing grout after the job is done, so you get clean, restored grout lines without cracking a single tile.
What tools and materials do you need to remove stubborn grout buildup?
Getting the right tools before you start is the difference between a clean result and a cracked tile. Grout removal sits at the intersection of precision and patience, and the gear you choose sets the tone for both.
Manual tools
A grout saw, utility knife, and stiff grout brush are your baseline. The grout saw scores along the joint and loosens compacted buildup. The utility knife handles tight corners and edges where power tools cannot reach safely. A stiff nylon grout brush (not a metal wire brush) scrubs away loosened residue without scratching the tile surface.
Power tools
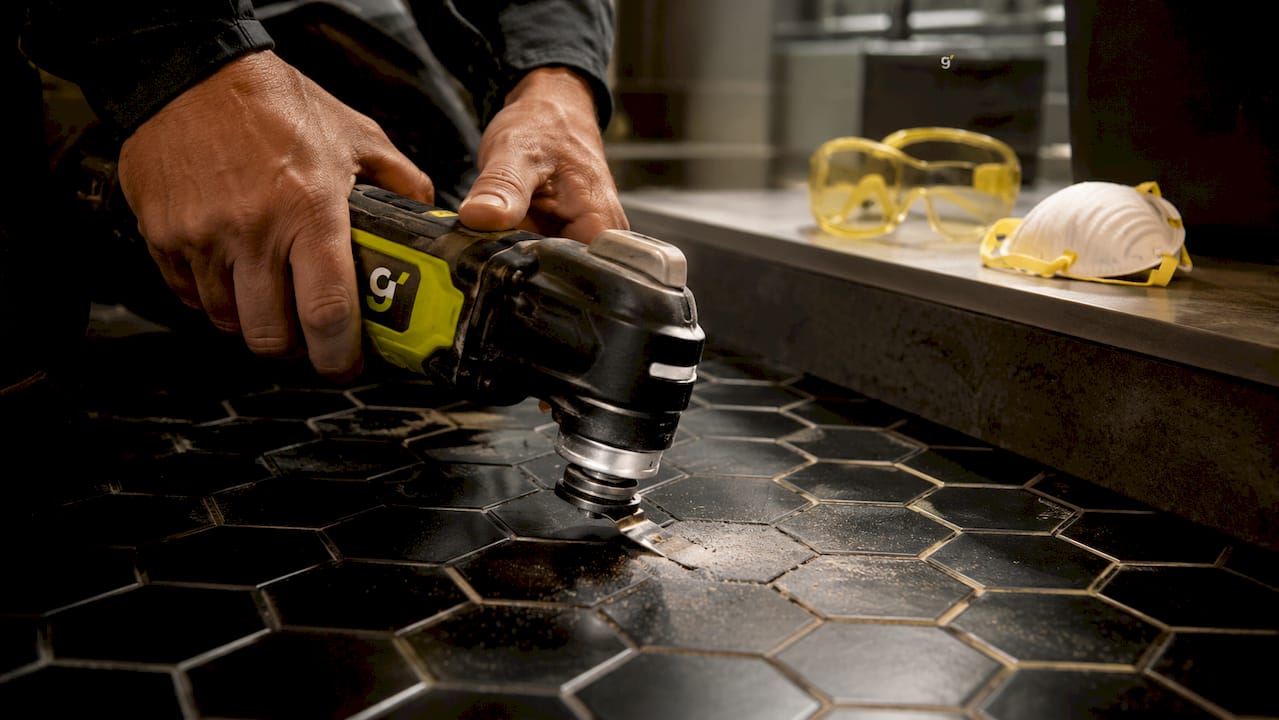
An oscillating multi-tool fitted with a grout removal blade is the most efficient option for larger grout areas. It removes 2–4 linear feet of grout per minute, cutting a full bathroom job from an entire day of hand work down to 1–2 hours. A shop vacuum with a fine-dust filter is equally important. Clear the dust constantly or you lose visibility and slow yourself down.
Pro Tip: Rotary tools are popular but they spin at high speed and risk chipping tile edges far more than oscillating multi-tools. Stick with the oscillating option for cement grout.
Cleaning solutions
You do not need commercial chemicals to clean grout effectively. A paste of 3 parts baking soda to 1 part hydrogen peroxide is safe, non-toxic, and genuinely effective. Add a small squeeze of dish soap to help the paste cling to vertical surfaces in showers. These are the same safe cleaner mixtures recommended for homes with children and pets.
Safety gear and surface protection
| Item | Purpose |
|---|---|
| Safety goggles | Protect eyes from grout dust and debris |
| P2 dust mask | Filter fine cement particles during mechanical removal |
| Nitrile gloves | Shield skin from cleaning solutions and sharp debris |
| Painter's tape | Protect tile edges and adjacent surfaces |
| Drop sheet | Catch dust and debris on floors below work area |
Open windows and run an exhaust fan throughout the job. Grout dust is a respiratory irritant, and ventilation is not optional.
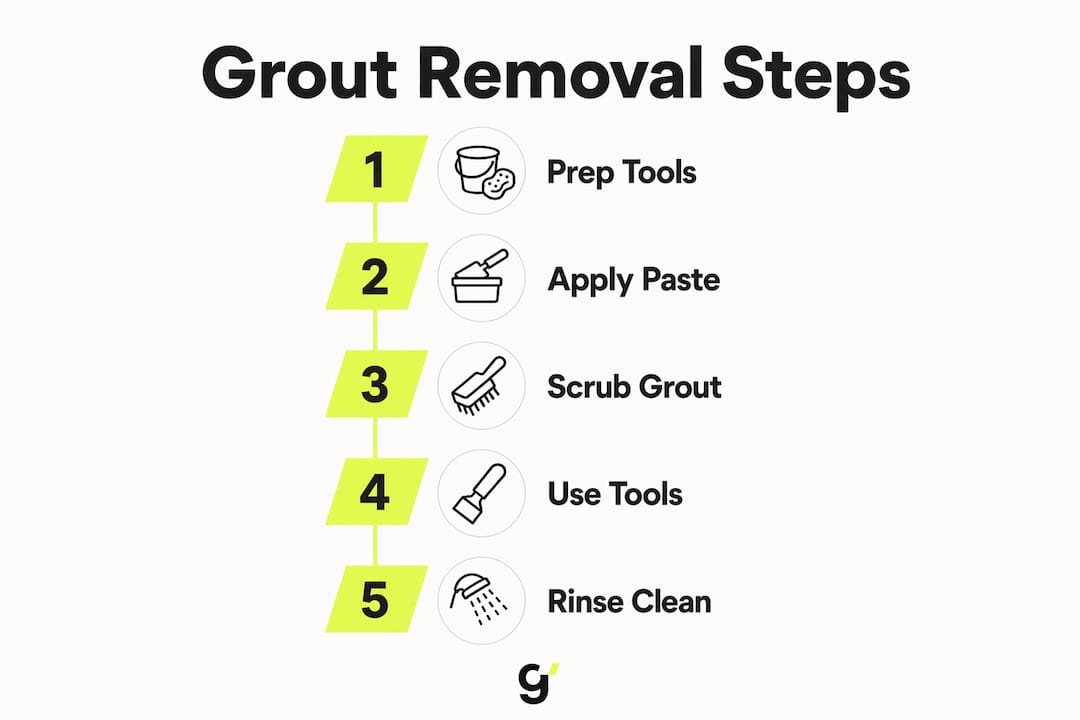
How do you remove stubborn grout buildup step by step?
This is the core of the DIY grout removal process. Follow this sequence and you protect the tile while getting the grout lines fully clean.
-
Prepare the area. Lay a drop sheet, tape off adjacent surfaces with painter's tape, and open windows. Fill a spray bottle with warm water.
-
Dampen the grout lines. Soak the grout with warm water and let it sit for 15–20 minutes. Dampening cement grout before removal softens it and reduces airborne dust, which improves both safety and efficiency.
-
Test a small section first. Pick a grout line in a low-visibility corner and work it with your grout saw. This tells you how hard the grout is, whether the tile is fragile, and which blade pressure feels right. Never skip this step.
-
Set up the oscillating multi-tool. Select a blade that is narrower than your grout joint. For a standard 3mm (1/8-inch) joint, a 1.5mm (1/16-inch) blade is the right choice. A blade wider than the joint will chip the tile edge every time.
-
Work in short passes. Hold the tool at a low angle and make short, controlled passes along the grout line. Do not force depth in a single pass. Build depth gradually over two or three passes.
-
Vacuum constantly. Stop every 30–60 seconds to vacuum the joint. Dust-packed joints hide your progress and cause the blade to skip, which increases tile damage risk.
-
Handle intersections with a manual tool. Where grout lines cross, switch to your utility knife or grout saw. The oscillating blade cannot navigate corners cleanly, and this is where most tile chips happen.
-
Stop at two-thirds tile depth. The correct removal depth is approximately two-thirds of the tile thickness, around 6mm (1/4 inch) for standard tiles. Removing beyond this depth risks loosening the tile adhesive underneath and destabilising the whole tile.
-
Finish edges with a manual tool. Run your grout saw along the edges of each joint to create a clean, uniform depth. This step matters if you plan to regrout, because new grout bonds better to a consistent surface.
-
Apply the cleaning paste. Mix your 3:1 baking soda and hydrogen peroxide paste and press it into the grout lines. Let it dwell for 5–10 minutes. Dwell time does the work, so resist the urge to scrub immediately.
-
Scrub and rinse. Use a stiff nylon brush in short back-and-forth strokes. Rinse with clean water and dry the surface with a cloth.
Pro Tip: Work in sections of about one square metre at a time. This keeps the paste from drying out before you scrub, and it gives you a clear sense of progress.
What common mistakes should you avoid when removing grout?
Most tile damage during grout removal comes from a handful of predictable errors. Knowing them in advance saves you a costly repair.
-
Using steel wool or metal scourers. Abrasive metal tools permanently scratch glazed tile surfaces and strip the grout sealant. Once the sealant is gone, the grout absorbs stains faster and cleaning becomes a cycle that never ends.
-
Over-scrubbing instead of waiting. Sara San Angelo, a professional cleaning expert, states that harder scrubbing is less effective than letting the chemical dwell time do its job. Scrubbing too hard also roughens the grout surface, which creates microscopic pits that trap dirt more easily next time.
-
Using a blade that is too wide. A blade wider than the grout joint will catch the tile edge on every pass. This is the single most common cause of chipped tiles during DIY grout removal.
-
Skipping dust removal. Grout dust packs back into the joint and hides how deep you have gone. Vacuum constantly so you can see what you are doing.
-
Going too deep. Removing more than two-thirds of the tile thickness risks pulling the tile away from the thinset adhesive beneath it. Once a tile lifts, the repair is far more involved than the original grout job.
"Cleaning improves grout appearance significantly, but some stains may require professional-grade solutions or grout colourant applications." — David Madsen, as cited by The Spruce
This is worth keeping in mind before you assume mechanical removal alone will restore every grout line to its original colour.
How to maintain clean grout and prevent future stubborn buildup
Removing the buildup is only half the job. What you do in the weeks and months after determines whether you are back scrubbing in six months or not.
Reseal grout every six months
Grout should be resealed every six months in wet areas like bathrooms and kitchens. Most homeowners skip this step entirely, which is why grout yellows and darkens so quickly. A penetrating grout sealer fills the porous surface and stops moisture, soap, and minerals from bonding to the grout.
Weekly cleaning routine
A weekly clean with a diluted baking soda solution prevents buildup from hardening. This takes five minutes and saves hours of scrubbing later. In showers, use a squeegee on the tiles after every use to remove water before it leaves mineral deposits behind.
Ventilation and moisture control
Mould in grout lines is a moisture problem first and a cleaning problem second. Run your bathroom exhaust fan for at least 20 minutes after every shower. In kitchens, use the range hood when cooking to reduce steam settling on tile grout near the splashback.
When cleaning is not enough
| Situation | Recommended action |
|---|---|
| Grout is clean but discoloured | Apply a grout colourant pen for a uniform finish |
| Grout is cracked or crumbling | Remove and regrout the affected lines |
| Mould returns within weeks | Investigate waterproofing and ventilation issues |
| Stains persist after cleaning | Use a professional-grade enzyme cleaner or call a professional |
David Madsen notes that deep stains may persist even after thorough cleaning, and a grout colourant or pen can restore a uniform appearance without full removal. This is a practical option for renters who cannot regrout but want the bathroom to look presentable. For a broader look at how neglect affects surfaces over time, the Grimescene guide on grime buildup and surface damage is worth reading before you decide whether to clean or replace.
Key takeaways
The most effective approach to removing stubborn grout buildup combines an oscillating multi-tool for mechanical removal with a baking soda and hydrogen peroxide paste for chemical cleaning, followed by resealing every six months to prevent recurrence.
| Point | Details |
|---|---|
| Tool selection matters most | Use an oscillating multi-tool with a blade narrower than the grout joint to avoid chipping tiles. |
| Depth control protects tiles | Remove only two-thirds of the tile thickness to avoid disturbing the adhesive beneath. |
| Dwell time beats scrubbing | Let baking soda and hydrogen peroxide paste sit for 5–10 minutes before brushing for best results. |
| Reseal every six months | Resealing prevents moisture and grime from bonding to porous grout and extends cleanliness significantly. |
| Maintenance prevents heavy buildup | Weekly cleaning and post-shower squeegee use stop buildup before it becomes a major removal job. |
What I have learned from years of watching grout go wrong
Most people attack grout buildup the wrong way. They grab the most abrasive thing they can find and scrub harder than necessary. I have seen this approach scratch glazed tiles beyond repair and strip sealant that took years to build up. The result is grout that looks worse after cleaning than before.
The counterintuitive truth is that patience outperforms force every time. An oscillating multi-tool at the right angle, with the right blade width, does more in ten minutes than an hour of hand scrubbing. And a baking soda paste left to dwell for ten minutes lifts grime that aggressive scrubbing cannot shift.
I also think people underestimate how much the preparation stage matters. Dampening the grout, taping off surfaces, and testing a small section first are not optional extras. They are what separates a clean result from a cracked tile and a repair bill.
The other thing worth saying plainly: if the grout is mouldy, discoloured, and crumbling, no amount of cleaning will restore it. Regrouting is the right call, and it is not as difficult as it looks once you have the mechanical removal step sorted. Start with the grout and tile cleaning guide to understand what is worth saving before you commit to full removal.
— Lead
When the job calls for a professional

Some grout situations go beyond what a weekend and a hardware store run can fix. Grimescene specialises in exactly these cases. Using non-toxic, eco-friendly agents that neutralise buildup rather than masking it, the team handles everything from bathroom grout restoration to full kitchen tile decontamination. For renters and short-term rental hosts, the Grimescene Scene Reset cleaning service delivers a thorough grout and tile clean as part of a full property turnover, protecting host ratings and keeping properties in top condition between guests. Book a consultation to find out what a professional clean can restore.
FAQ
What is the fastest way to remove stubborn grout buildup?
An oscillating multi-tool with a grout removal blade is the fastest method, removing 2–4 linear feet per minute and cutting a full bathroom job to 1–2 hours. Pair it with a baking soda and hydrogen peroxide paste for chemical cleaning after mechanical removal.
How deep should you remove grout when regrouting?
Remove grout to approximately two-thirds of the tile thickness, around 6mm for standard tiles. Going deeper risks disturbing the tile adhesive and loosening the tile from the substrate.
Is baking soda safe for cleaning grout?
Yes. A 3:1 paste of baking soda and hydrogen peroxide is safe for glazed tiles and grout, and it is non-toxic for households with children and pets. Let it dwell for 5–10 minutes before scrubbing with a nylon brush.
How often should grout be resealed?
Grout in wet areas like bathrooms and kitchens should be resealed every six months. Skipping this step allows moisture and grime to penetrate the porous surface, leading to discolouration and stubborn buildup.
When should you call a professional instead of doing it yourself?
Call a professional when grout is crumbling, mould returns within weeks of cleaning, or stains persist after a thorough DIY clean. These signs point to underlying moisture or structural issues that require more than surface cleaning.