Grout and tile cleaning best practices are defined as the combination of pH-neutral cleaning agents, steam treatment, and regular sealing that protects surfaces from staining, mould, and structural damage. Dirty grout is not just an aesthetic problem. Porous cementitious grout absorbs moisture, bacteria, and grime at a microscopic level, making surface scrubbing alone ineffective. The right approach uses tools like steam cleaners and microfiber cloths, products like Clorox Clean-Up and pH-neutral dish soap, and a weekly maintenance rhythm that stops buildup before it starts. Sealing grout lines is the single most underused step in most households.
1. why pH-Neutral cleaners are non-negotiable for tile care
pH-neutral cleaners are the safest and most effective choice for grout and tile surfaces because they clean without corroding the material beneath. Grout is cementitious, meaning it reacts chemically to acids. Ceramic and porcelain tiles can also suffer surface etching from repeated acid exposure.
The National Tile Contractors Association warns that strong acids permanently weaken grout structure. Vinegar and lemon juice are the most common offenders in home cleaning routines. Many homeowners reach for them because they are natural, but natural does not mean safe for all surfaces.
Safer alternatives include:
- Dish soap mixed with warm water for routine tile cleaning
- Specially formulated pH-neutral tile cleaners available at hardware stores
- Baking soda paste for light scrubbing without acid damage
Pro Tip: Always check the label on any cleaner before applying it to stone tiles like marble or travertine. Even mild acids can permanently dull a polished stone surface.
Learning how eco cleaning protects home finishes is a practical way to understand why product selection matters as much as technique.
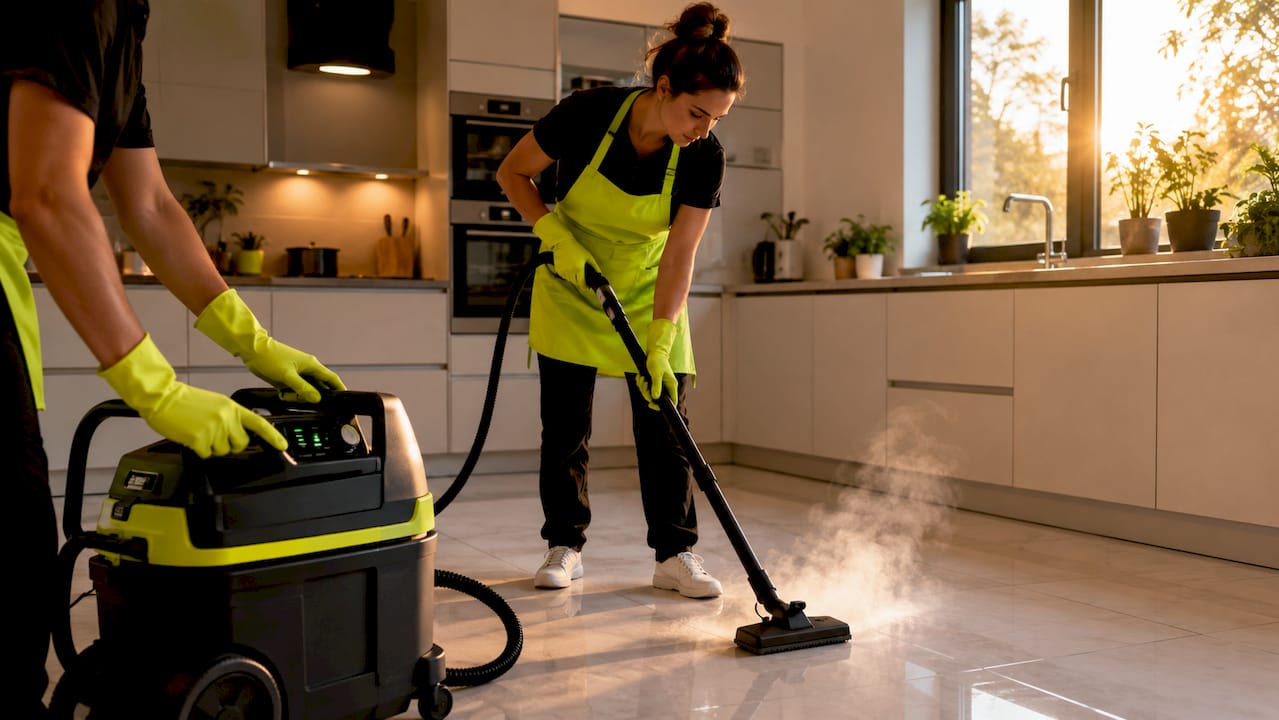
2. steam cleaning: the residue-free method that actually works
Steam cleaning is one of the most effective tile cleaning techniques available to homeowners because it penetrates porous grout with high-temperature vapour, breaking down dirt and bacteria without leaving chemical residue. Martha Stewart identifies steam cleaning as a top method for grout care, particularly for households with children or pets who are sensitive to chemical residues.
The process works by forcing steam into grout lines at temperatures that kill bacteria and loosen embedded grime. No rinsing is required. That makes it faster and safer than most wet chemical methods.
Follow these steps for best results:
- Fill the steam cleaner with distilled or demineralised water to prevent mineral scale deposits inside the machine and on grout surfaces.
- Attach a narrow nozzle or grout brush attachment for direct contact with grout lines.
- Move the nozzle slowly along each grout line, allowing the steam to penetrate for 3–5 seconds per section.
- Wipe away loosened grime immediately with a clean microfiber cloth.
- Allow the surface to air dry fully before walking on it or applying any sealer.
Steam cleaning is especially effective on sealed tiles where chemical cleaners may leave streaks. The one firm caution: do not use a steam cleaner on unsealed grout or delicate natural stones like limestone. The heat and moisture can drive water deeper into already vulnerable material.
Pro Tip: Hire or borrow a commercial-grade steam cleaner for an annual deep clean. Consumer models work for maintenance, but professional equipment reaches higher temperatures that remove years of embedded biofilm in a single pass.
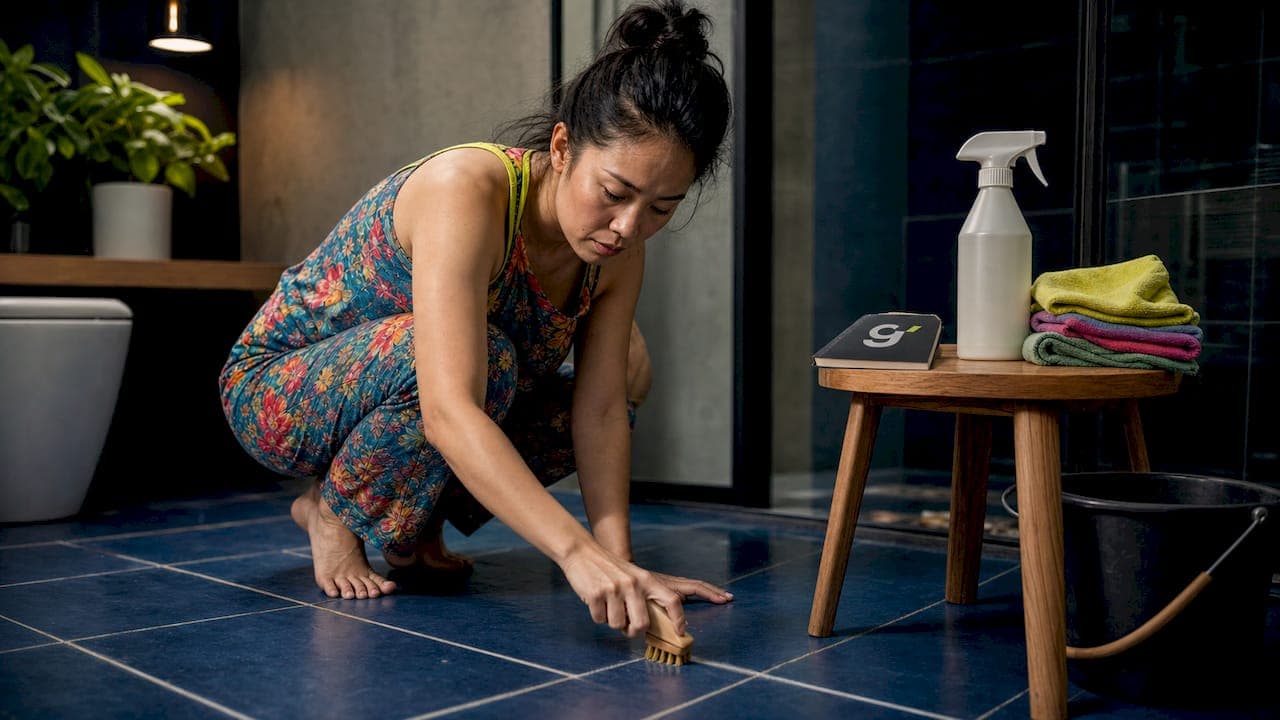
3. DIY remedies vs. commercial products: what actually removes grout stains
The best grout cleaning methods depend on the type and severity of the stain. DIY natural cleaners handle light to moderate staining well. Commercial products and diluted bleach solutions are necessary for mould, mildew, and deep discolouration.
DIY natural cleaners
A paste of baking soda and hydrogen peroxide is the most effective home remedy for yellowed grout. Mix two parts baking soda with one part hydrogen peroxide and a small squeeze of dish soap. Apply the paste directly to grout lines, leave it for 10–15 minutes, then scrub gently with a stiff nylon brush. Rinse thoroughly with warm water.
Bleach solutions for tough stains
Household chlorine bleach diluted at three-quarters of a cup per four litres of water is effective for stubborn grout stains. Good Housekeeping advises applying it carefully with a brush, wearing gloves, and working in a well-ventilated space. Never mix bleach with ammonia-based cleaners.
Commercial options
For mould and mildew in bathroom grout, Clorox Clean-Up and tile-specific bleach cleaners are recommended by Wirecutter as the most reliable commercial options. They contain surfactants that help the active ingredient cling to vertical grout lines rather than running off.
| Method | Best For | Key Caution |
|---|---|---|
| Baking soda and hydrogen peroxide | Yellowing, light stains | Do not use on coloured grout |
| Diluted bleach solution | Mould, mildew, deep stains | Ventilate well, wear gloves |
| Clorox Clean-Up or tile cleaner | Bathroom bio-stains | Test on a small area first |
| pH-neutral dish soap | Routine weekly cleaning | Not for heavy staining |
Always test any new product on a small, hidden section of grout before full application. This is especially true for coloured or epoxy grout, which can discolour with bleach.
Cleaning and restoring tile grout requires stripping embedded biofilm before applying any brightener or colourant. Skipping this step produces patchy, uneven results.
4. sealing grout: the step most homeowners skip
Sealing grout is the single most effective long-term maintenance step because it blocks microscopic pores, preventing dirt, moisture, and bacteria from penetrating the surface. Family Handyman recommends sealing shortly after installation and resealing once or twice a year depending on foot traffic and moisture exposure. Sealed grout is dramatically easier to clean and resists staining far longer than unsealed grout.
Key sealing guidelines:
- New installations: Seal grout a few days after laying tiles, once the grout has fully cured.
- Timing after cleaning: Wait at least 24 hours after deep cleaning before applying sealer. Damp grout prevents proper sealer adhesion.
- Sealer type: Use penetrating sealers for sanded and unsanded cement grout. Epoxy grout does not require sealing.
- Resealing schedule: High-traffic areas like kitchen floors and shower recesses need resealing every 12 months. Low-traffic areas can go up to 24 months.
- After sealing: Sealed grout tolerates steam cleaning and firm scrubbing far better than unsealed grout.
Pro Tip: Test whether your grout needs resealing by placing a few drops of water on the surface. If the water beads up, the sealer is still active. If it absorbs within a few seconds, it is time to reseal.
Understanding grout cleaning and tile longevity shows clearly how sealing reduces the frequency and intensity of deep cleaning sessions over time.
5. daily and weekly habits that keep grout looking new
Consistent grout maintenance tips matter more than any single deep clean. Weekly cleaning and as-needed spot treatments prevent yellowing and stop grime from becoming embedded. The goal is to make deep cleaning a rare event rather than a monthly necessity.
Follow this maintenance sequence:
- Sweep or vacuum before mopping. Surface grit ground into grout lines acts like sandpaper, accelerating wear. Remove it first.
- Mop with a pH-neutral solution. Use warm water and a small amount of dish soap. Avoid soaking grout lines with excess water.
- Use a squeegee after every shower. Moisture on grout is the primary cause of mould and mildew discolouration in bathrooms. A 30-second squeegee pass removes most of it.
- Ventilate bathrooms and laundries. Run exhaust fans during and after showers to reduce ambient humidity. Grime buildup accelerates in persistently damp environments, as explained in detail on why grime damages surfaces.
- Blot spills immediately. Do not wipe. Wiping spreads the spill into adjacent grout lines. Blotting lifts it straight up.
- Spot treat weekly. Apply a baking soda paste to any grout lines showing early discolouration. Catching stains early means a soft brush and two minutes of work rather than a full deep clean.
Maintaining a clean home between deep cleans is far easier when these habits become automatic rather than reactive.
Key takeaways
Effective grout and tile care requires pH-neutral cleaners, regular sealing, and consistent moisture control to protect surfaces and reduce the need for intensive deep cleaning.
| Point | Details |
|---|---|
| Choose pH-neutral cleaners | Avoid acids like vinegar; use dish soap or formulated tile cleaners to protect grout integrity. |
| Steam clean for deep hygiene | Use distilled water and a grout attachment to remove bacteria without chemical residue. |
| Seal grout regularly | Apply penetrating sealer after installation and reseal every 12–24 months to block staining. |
| Sweep before mopping | Remove surface grit first to stop it grinding into grout lines during wet cleaning. |
| Blot spills, do not wipe | Blotting lifts stains out of grout; wiping spreads them further into porous lines. |
What i have learned from years of watching grout get ruined
The most common mistake I see is impatience. Homeowners scrub hard and fast because they expect effort to equal results. It does not work that way with grout. Success in grout cleaning comes from letting the cleaner dwell properly, not from aggressive scrubbing. Over-scrubbing with abrasive brushes actually loosens grout, which accelerates crumbling and creates wider gaps for dirt to settle into.
The second mistake is reaching for vinegar. It is cheap, it smells like it is working, and it does absolutely nothing good for cementitious grout. I have seen bathroom grout crumble within two years in homes where vinegar was used weekly. The damage is irreversible without regrout.
Steam cleaning changed how I think about tile hygiene. It is the one method that genuinely disinfects without leaving anything behind. For households with young children or anyone with respiratory sensitivities, it is the obvious choice. The upfront cost of a decent steam cleaner pays for itself quickly in avoided product purchases.
My honest recommendation: seal your grout twice a year, clean weekly with something gentle, and call in a professional when staining has gone past what DIY can fix. Trying to restore severely discoloured grout with home remedies wastes time and risks further damage.
— Lead
When your grout needs more than a home clean

Some grout staining goes too deep for DIY methods to reach. Post-construction residue, years of unsealed grout in high-traffic areas, and short-term rental properties with rapid turnover all create conditions that require professional-grade equipment and expertise. Grimescene uses advanced non-toxic agents that neutralise embedded grime rather than masking it, making them a strong fit for households that want results without harsh chemicals. For rental property managers, the Grimescene Scene Reset protocol delivers a thorough turnover clean that protects host ratings. Book a rapid response appointment for a deep clean, or explore short-term rental cleaning services tailored to high-frequency property turnovers.
FAQ
How often should you clean grout?
Clean grout weekly with a pH-neutral solution and treat stains as they appear. High-traffic areas and bathrooms benefit from spot treatment two to three times per week.
Can you use vinegar to clean grout?
Vinegar is not safe for cementitious grout or stone tiles. The National Tile Contractors Association confirms that acids weaken grout and can permanently etch tile surfaces over time.
How long after cleaning should you wait to seal grout?
Wait at least 24 hours after cleaning before applying grout sealer. Damp grout prevents the sealer from bonding correctly, reducing its effectiveness.
Is steam cleaning safe for all tiles?
Steam cleaning is safe for sealed ceramic and porcelain tiles. Avoid using it on unsealed grout or delicate natural stones like limestone and marble, where heat and moisture can cause damage.
What is the best DIY grout cleaner?
A paste of baking soda, hydrogen peroxide, and dish soap is the most effective home remedy for yellowed grout. Apply, allow it to dwell for 10–15 minutes, then scrub gently with a nylon brush and rinse thoroughly.